Posts

And Now For Something Completely Different...
Image
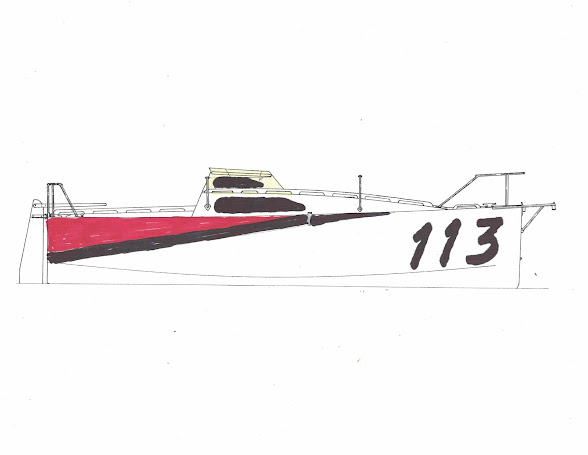
So, in the interest of thinking about something else, I've been spending some time on paint schemes and things like that.  We (my lovely wife and I) sat down last Saturday night, each with the requisite cocktail, and made some sketches.  What do you think?  Think you can do better?  Here's the link to the blank line drawing that Hull 79 gave me (link on Hull 79's page).   Link Here Our ideas... The last is a really bad representation of what I was intending.  I didn't have the right colors, but  here's  a link to what I was intending. The side of the cabin where the lower window is will need to be some bright (probably florescent) color (safety yellow, orange, pink, green).  All boats will be required to carry their hull number (113 for me) on each side of the bow in large numbers as well. Share your ideas with me.  I'd like to see what other people think.

And then it gets faster...

Image
 So, I guess this is like all projects.  You work and work and work doing small, seemingly inconsequential stuff, and then all in a couple of hours, it seems to make a huge jump ahead.  After a bunch of prep of rings by sanding and epoxy coating and fitting and installing hatches (people and inspection), we finally hung the rings on the strongback. I haven't hung the stem yet because it needs some shaping.  Once that's done, it's just about putting in a bunch of epoxy fillets to hold everything together.  Then it's on to installing and shaping stringers.

Almost imperceptively slow progress

Image
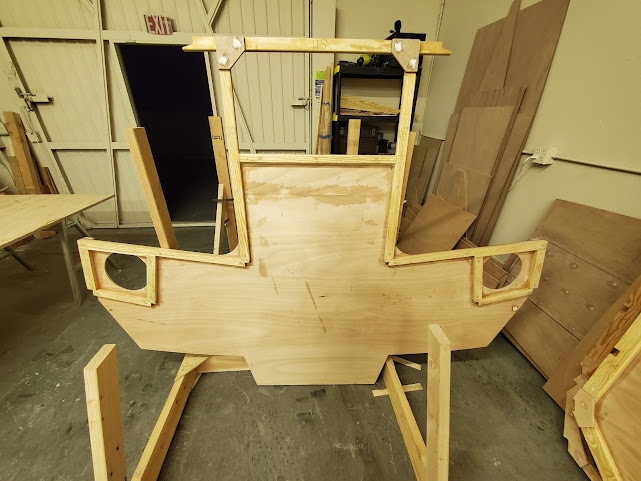
Turns out that there's a ton left to do on the frame rings/bulkheads.  They're in the right shape, but to make them waterproof, I'll be putting at least a full coat and maybe two of epoxy all over.  A couple of the frames will have waterproof hatches and/or inspection ports.  The inspection ports need small backing rings, and the big hatches need backing frames.  The round holes in the frame above access the areas behind the cockpit seats.  That frame creates the back of the cabin house/front of the cockpit, so those ports will be accessed from inside the cabin.  Since it's way easier to cut them out and apply the backers before they're installed, I'm doing that.   On the subject of stringers, we spent last Saturday buying, planing and ripping up stringers.  We decided on 2x8x 12' prime kiln dried Douglas Fir studs.  This helps us avoid most of the bad knots.  The kiln dried part keeps us from having to wait months for the wood to d...

Bits and Bobs #1

Image
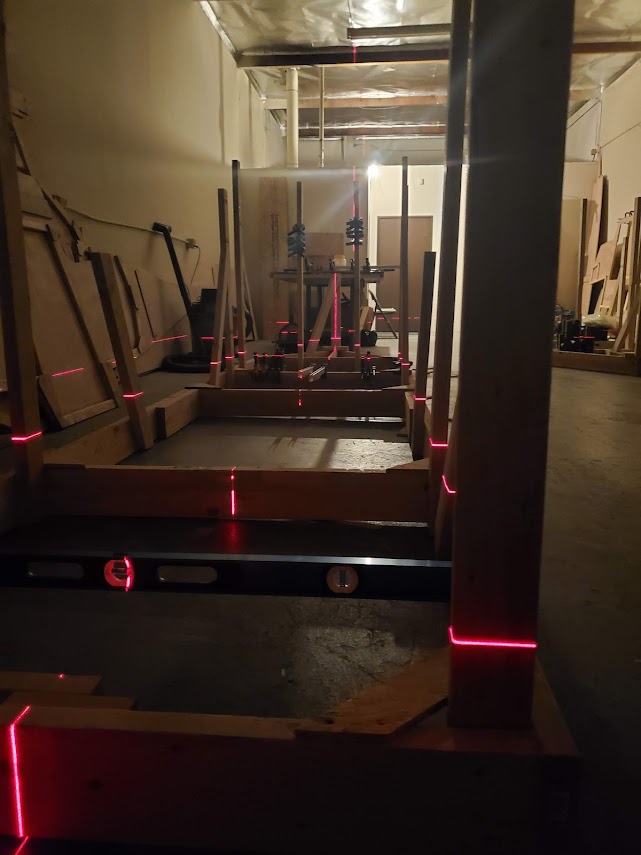
 There's not a lot to report right now.  Work is definitely happening (a lot in fact), but not a lot to show. Bit #1 The ring frames are assembled, epoxied, filled, and mostly sanded.  They pretty much look the same as they have for a while.  I still have some parts to rout, sand and otherwise finish, but they're pretty much done. Bit #2 The most interesting part to see right now is the strongback.  We've slightly rearranged the shop to make for a little more room now that many of the parts are assembled together.  They are larger, but they generally take up less "volume" so we needed to restack everything and place the strongbacks where they're going to be throughout assembly.  I was thinking I'd put wheels on mine.  I was also going to put height adjusters on mine to account for unevenness of the floor.  After some thought, I decided I'd just shim it around so it sits evenly and relatively flat on the floor.  I used a sharpie and drew ...

Hull construction begins (or, "What the hull?")

Image
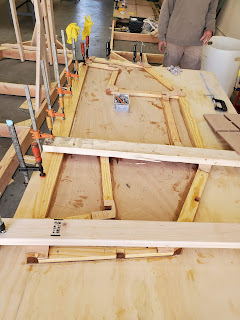
Here begins the construction of the hull.  It starts with building the ring frames.  These are the "annular" frames inside of the hull.  We'll orient these properly on the strong back, connect them with stringers, and then plate the hull with big sheets of plywood. So, the process is simple.  I learned most of this from Hull 79.  But first, let's start with a tool/supplies list. Cordless drill/impact driver Get a good one of each.  It's really handy to have a drill bit loaded and impact phillips driver at the same time. Flat table Something large with legs.  We made one by doubling up the lids on one of the crates and another with saw horse legs and a piece of 3/4" ply.  Both work.  Eight feet long is plenty, but a couple of the frames are over 48" wide, so scabbing a 6" wide piece on with a couple of 2x4s is good.  The most important things are that your table is flat and convenient to work on.  We had a low one too, but is was a l...

Late Christmas and first screws

Image
 I haven't posted for a bit because, I think the day after the last post, I received my  B&B Yacht Designs  CNC plywood kit.  Once it got here, I got super excited and started building as soon as I could. Since I'm working closely with  Hull 79 , we pulled everything out of the crates and made sure that we both had all of the pieces.  We did this because the crates weren't treated particularly well as they made their way across the US, and one had a fair hole punched in it, and the other was pretty well crushed, missing an end wall and had some of the contents stacked on top of the crate.  But, we got lucky and nothing inside was damaged and there was nothing missing. First up was building the strong back.  This is a jig used for assembling the ring frames in the proper (hopefully close to perfect) orientation to start assembling stringers and hull plates.  It's not a tough thing to build, but there are a couple of things to consider. Sta...

Arcy Sparky

Image
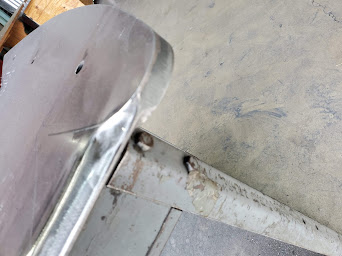
 I didn't really get into the grinding of the shape of the keels before welding, here's a few pics. All said and done, it took about nine minutes of lasering, five hours of milling (setup and cutting) and about two hours of grinding per keel.  All ballpark numbers, but it's not off by a lot.  The milling is pretty monotonous, in that you pretty much set it up and crank handles, and it doesn't take much thought once you figure out the numbers.  The grinding is more "artistic" because it takes some feel and a fair bit of patience and a lot of paying attention to not go crazy and grind a bunch of hollows into it that you have to fix. At the end of the last update, I mentioned that the welding of the keel was next.  Well, Jim at  Danrich Welding  and his guys Jaime and Juan took care of us.  They did a fantastic job of setup and welding.  There's no possible way that I can write enough words to describe the process.  Let the pictures speak f...